Listing management goes far beyond setting up your Google My Business listing. After Google, Bing is the next listing you should take control of, so we’ve created a guide on how to add and verify your business in Bing Places for Business. If you haven’t setup your Google My Business listing yet, back up and start here!
Step 1: Go to Bing Places for Business
The first step is to visit bingplaces.com and sign in with your Microsoft account email. If you don’t already have an account, you will need to create one. If you were previously signed in, click Get Started. 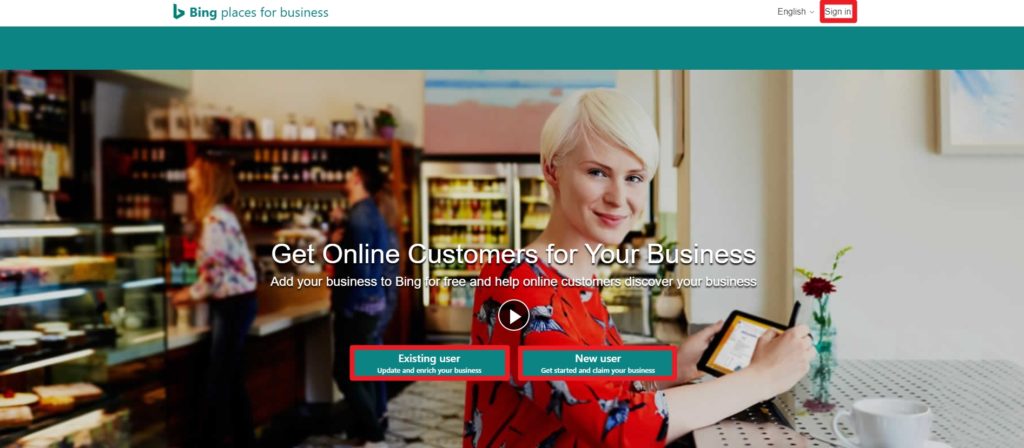
Step 2: Search for Your Business
As you go to set up your business, start by telling Bing what category your business falls into, whether you’re a small or medium-sized business to chains, Bing has the solution for you. 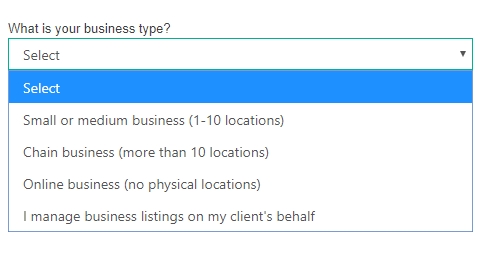 Find your business using your phone number or business name and location. It’s important that you search for your business using both search criteria because it may be found with one and not the other. Also, check for your business using old phone numbers or tracking numbers so you don’t accidentally add your business to Bing again and create a duplicate listing.
 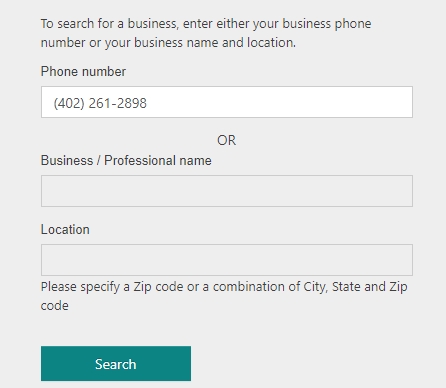 When you find your business, click Claim and Edit Details. If you can’t find your business, no problem, click Create New Business to add your business to Bing.
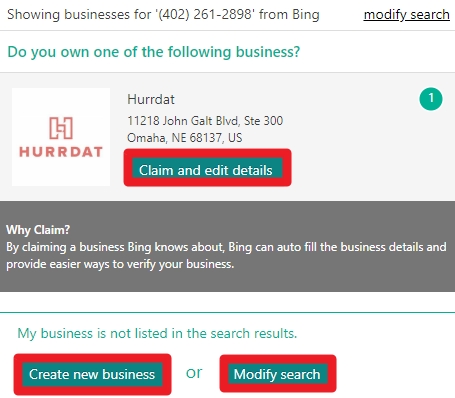
Step 3: Add or Correct Your Business Information
The same screen will appear whether you’re adding a new business or correcting the information Bing already knows about your business. Make sure you’re accurate when filling this information out. If you verify your listing with the incorrect address or phone number, you may be prompted to re-verify again when you attempt to change the information. Save yourself the time and submit the correct information upfront! 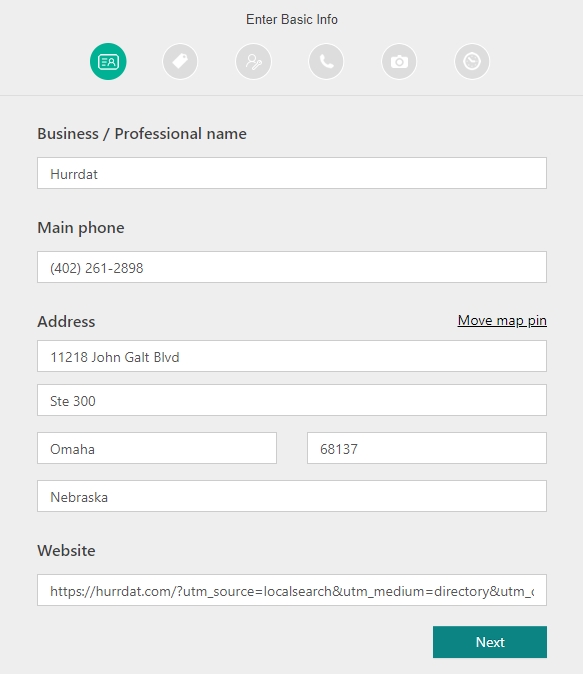 Also, double-check the location of your map pin. Bing uses this information for driving directions, so if your pin is in the incorrect location, you could be sending customers to the wrong location or making it difficult for them to find your entrance.
 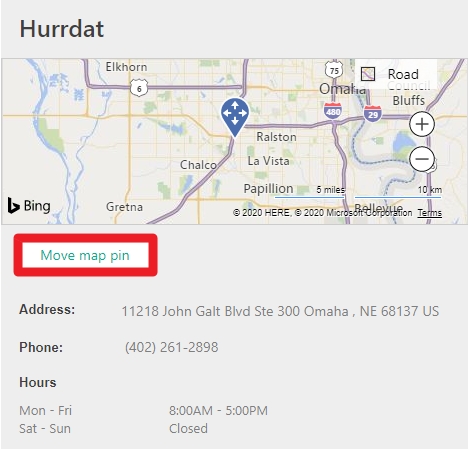 In addition to your basic business information, you’re able to add other information, such as multiple business categories, phone number, email, social accounts, hours, and photos. Choosing correct categories is important in Bing. Business categories tell the search engine what type of business you are so that you’re eligible to appear in relevant local search results. Select categories that accurately represent the attributes of your business and the services your offer. Then, select a primary category that describes your core business or service.
 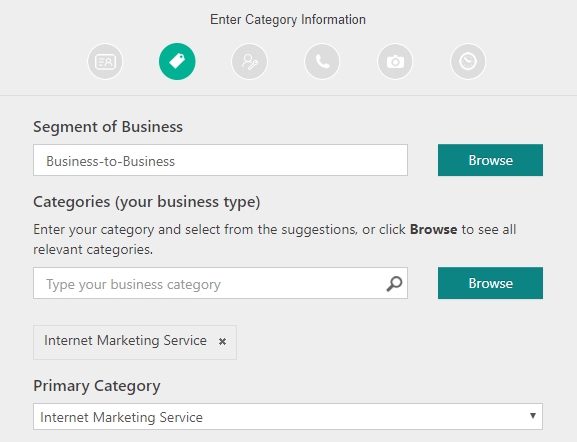 Add your contact email and additional contact details like your Facebook page, Twitter account, and more to make it easier for potential customers to reach you. Bing will use the phone number provided for verification, so make sure you provide a phone number where you can be reached.
 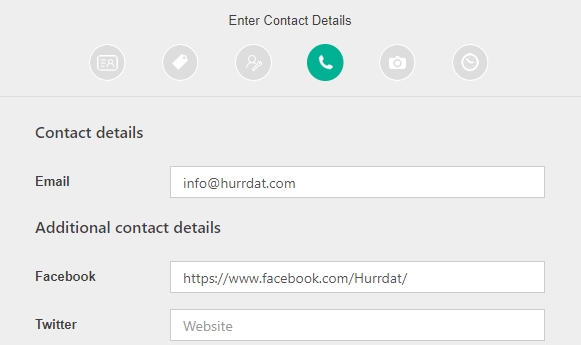 Be sure to set the hours representing when someone is available to serve your customers. Searchers who are looking for an open business may pass over you if they think you’re closed based on the hours shown on your Bing listing. If you are showing the wrong hours, then you could potentially be losing out on business and sending the searcher to your competitors. Add photos to your Bing listing that represent your brand and what your business has to offer. High-quality photos can attract searchers. For home service providers, searchers are looking for photos that show a professional team and high quality repairs before they’d consider inviting you into their home. For individual practitioners—such as real estate agents, lawyers, financial planners, and medical professionals—searchers want to see you and your team, not stock photos! Also including images of your front desk, office and awards can give a searcher more information about what to expect when doing business with you. Types of photos all businesses should consider adding are a logo, exterior and interior of your building, team photos, before-and-afters of services offered, and photos of your team at work.
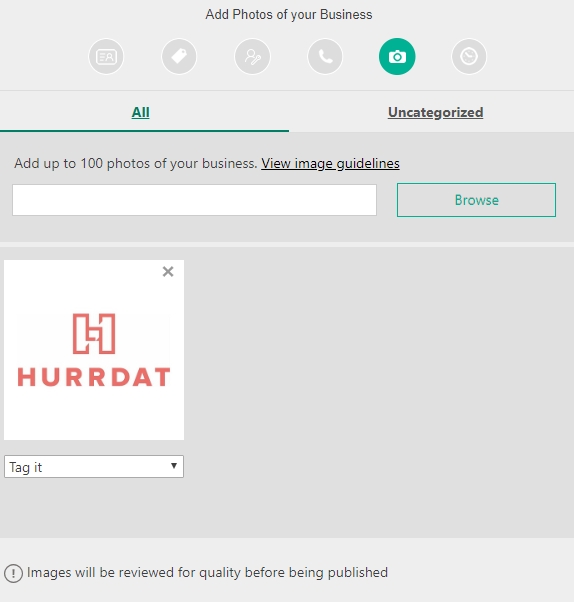
Step 4: Verify Your Business
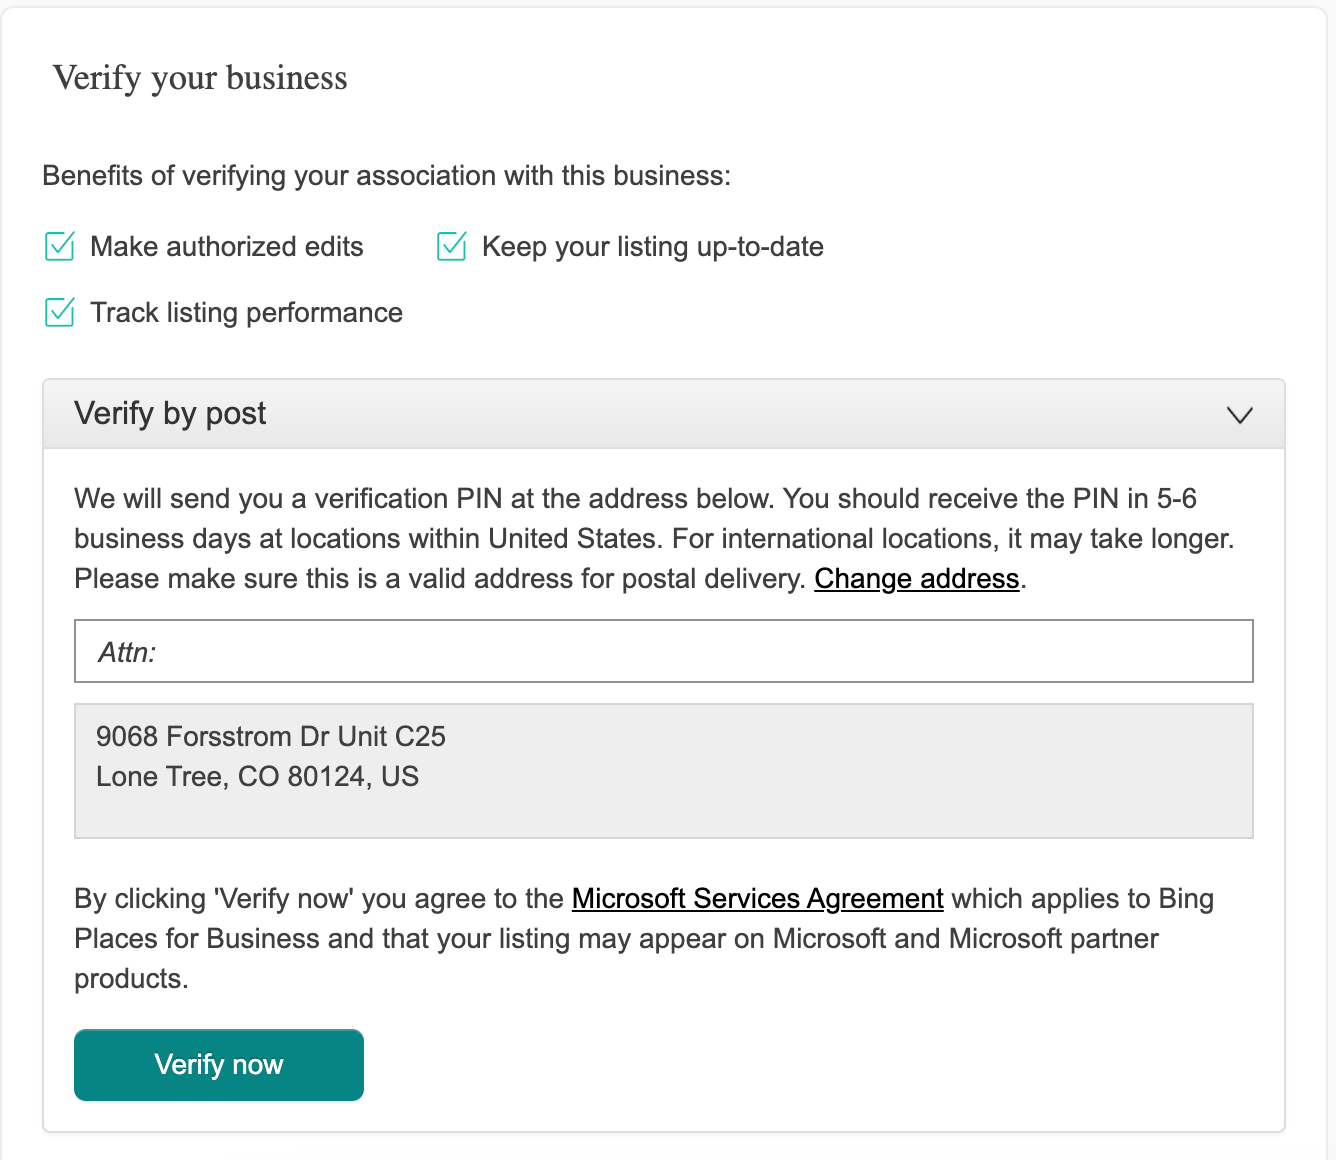
The final step is to verify your business using one of the five possible options you might be given. Any business information changed or added is not eligible to be published to Bing until the verification process is completed. Not all businesses are eligible to verify using all five verification methods and the most common methods offered are phone verification and postcard verification only. The first four ways you can verify your business require you to be able to receive a verification PIN code.
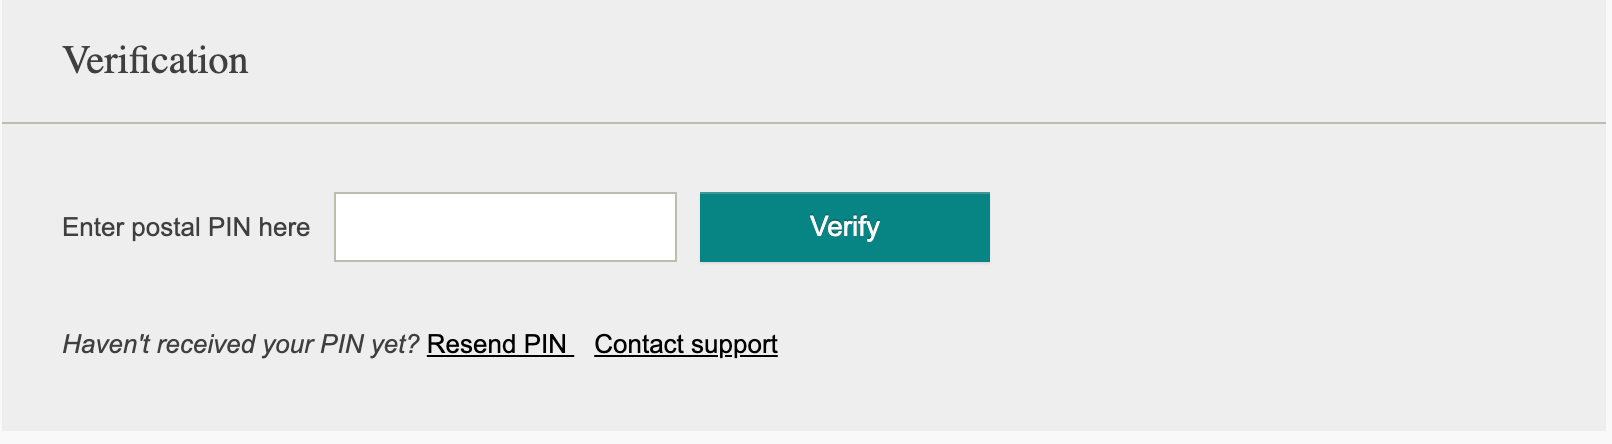
Verification PIN codes can be sent by email to a public domain email address, by phone call to the business phone number, by text message to the business phone number, or by postcard sent to the business address.
The fifth way is by web verification. Business owners are given five questions that must all be answered correctly and that only they would know.
If you chose PIN verification, you’ll be able to choose if you want to complete the verification now or later. If you choose to verify now via text, phone, or email, you’ll be able to input the code in the popup box that appears. If you select verify later, you’ll be directed back to the main screen of the dashboard. If you send a postcard, you’ll input the code on the main screen of the dashboard once you have received the code. Of the verification options given to you, choose the method easiest to complete and hit verify now or verify later. If, for some reason, you can’t verify your business in the dashboard, you can contact Bing Support. They’re very easy to work with, and normally the Bing representative only needs a public domain email address to prove you’re the owner. Now that your business has been added and verified in Bing Places for Business, your listing will be eligible to appear for relevant “near me” searches. Claiming and verifying your Google My Business listing and Bing business listing are just the start to building out a competitive local search optimization strategy. Looking for a company that can help with local search optimization? Check out our Website & Local Search Solution page!